[SpringBoot]使用Idea新建项目
环境
idea 2017
springboot 2.1.3
仓库
仓库案例:springboot_creating
新建项目
打开Idea,点击菜单项File,选择New->Project...,选择Spring Initializr,然后选择默认的Initializr Service URL: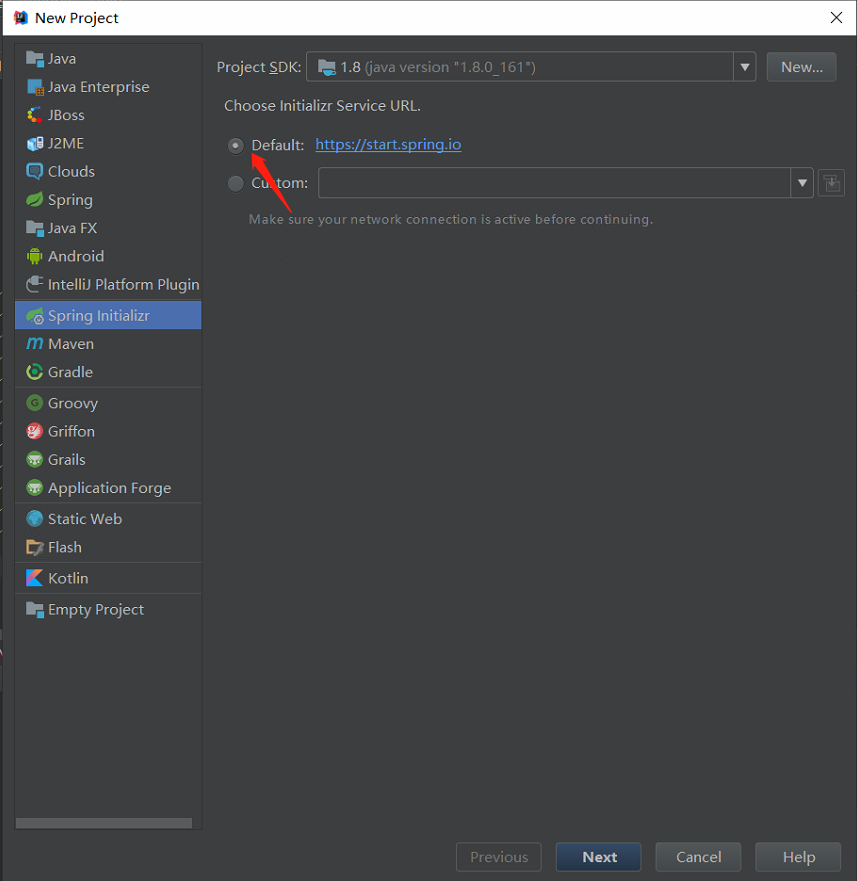
点击按钮Next进入下一步,然后填写项目信息:
点击按钮Next进入下一步,然后选择需要的模板依赖,这里选择Web模板: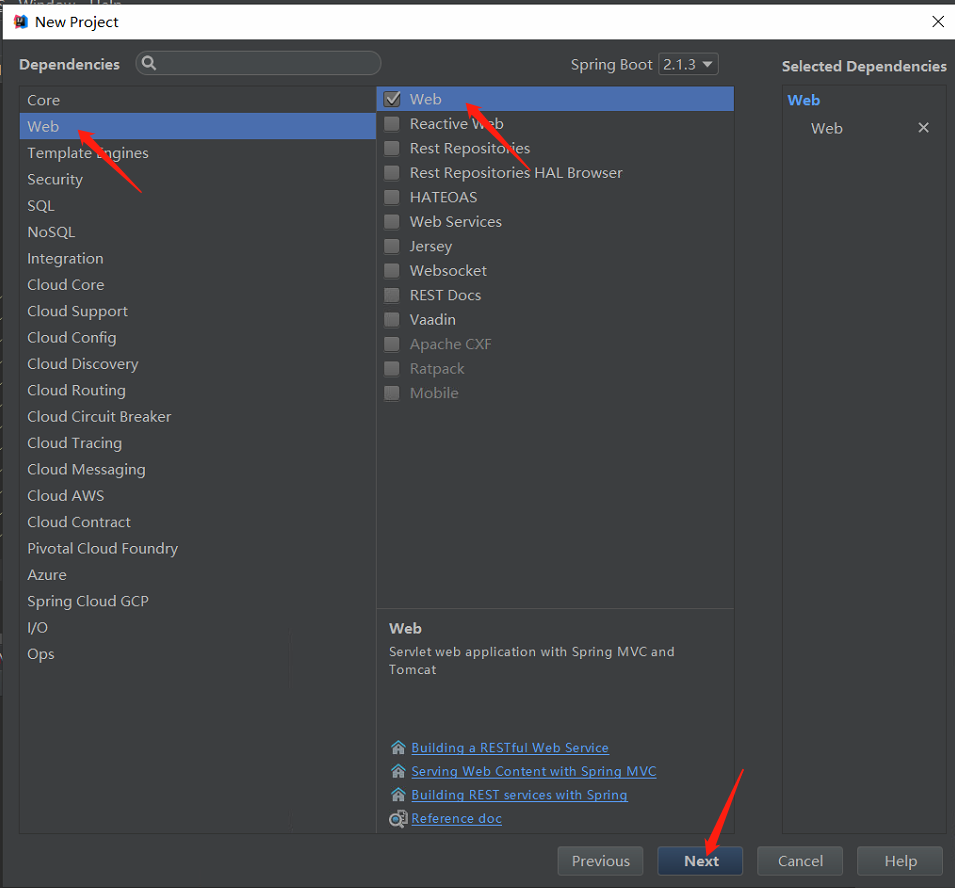
接下来选择好项目的位置,点击Finish按钮: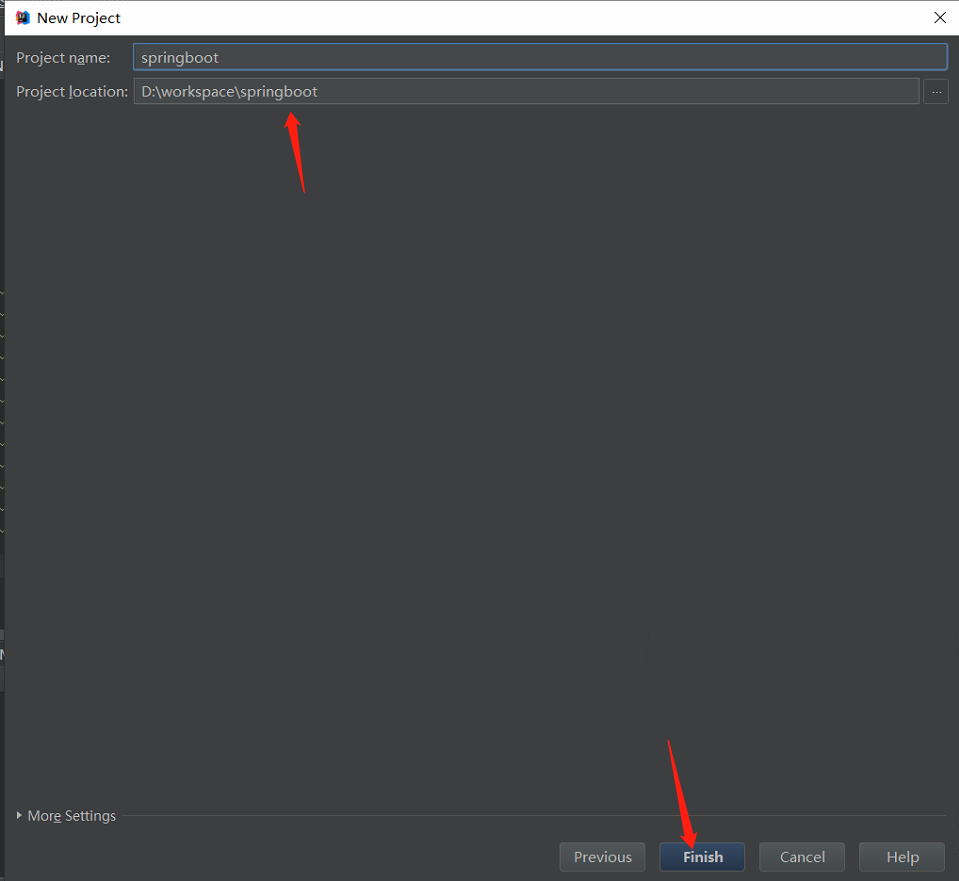
如果是第一次配置Spring Boot的话可能需要等待IDEA下载相应的依赖包,默认创建好的项目结构如下: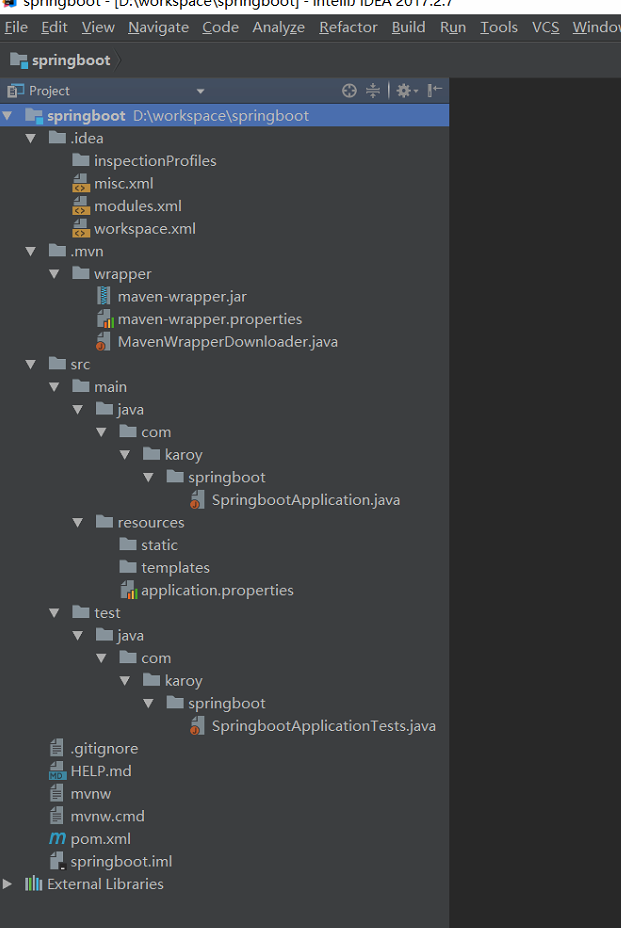
生成的pom文件内容:1
2
3
4
5
6
7
8
9
10
11
12
13
14
15
16
17
18
19
20
21
22
23
24
25
26
27
28
29
30
31
32
33
34
35
36
37
38
39
40
41
42
43
<project xmlns="http://maven.apache.org/POM/4.0.0" xmlns:xsi="http://www.w3.org/2001/XMLSchema-instance"
xsi:schemaLocation="http://maven.apache.org/POM/4.0.0 http://maven.apache.org/xsd/maven-4.0.0.xsd">
<modelVersion>4.0.0</modelVersion>
<parent>
<groupId>org.springframework.boot</groupId>
<artifactId>spring-boot-starter-parent</artifactId>
<version>2.1.3.RELEASE</version>
<relativePath/> <!-- lookup parent from repository -->
</parent>
<groupId>com.karoy</groupId>
<artifactId>springboot</artifactId>
<version>0.0.1-SNAPSHOT</version>
<name>springboot</name>
<description>Demo project for Spring Boot</description>
<properties>
<java.version>1.8</java.version>
</properties>
<dependencies>
<dependency>
<groupId>org.springframework.boot</groupId>
<artifactId>spring-boot-starter-web</artifactId>
</dependency>
<dependency>
<groupId>org.springframework.boot</groupId>
<artifactId>spring-boot-starter-test</artifactId>
<scope>test</scope>
</dependency>
</dependencies>
<build>
<plugins>
<plugin>
<groupId>org.springframework.boot</groupId>
<artifactId>spring-boot-maven-plugin</artifactId>
</plugin>
</plugins>
</build>
</project>
初次运行
现在我们找到SpringbootApplication这个类,然后在对应文件点击右键,在弹出的菜单中点击Run 'SpringbootApplication'运行或者使用快捷键Ctrl+Shift+F10: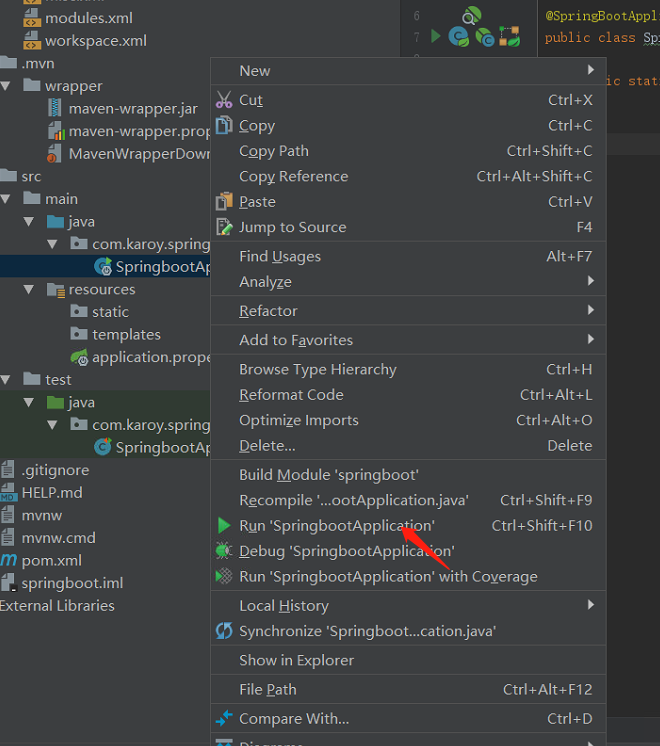
等待一会儿,然后就会看到下方控制台中出现成功运行的提示信息以及绑定的访问端口8080: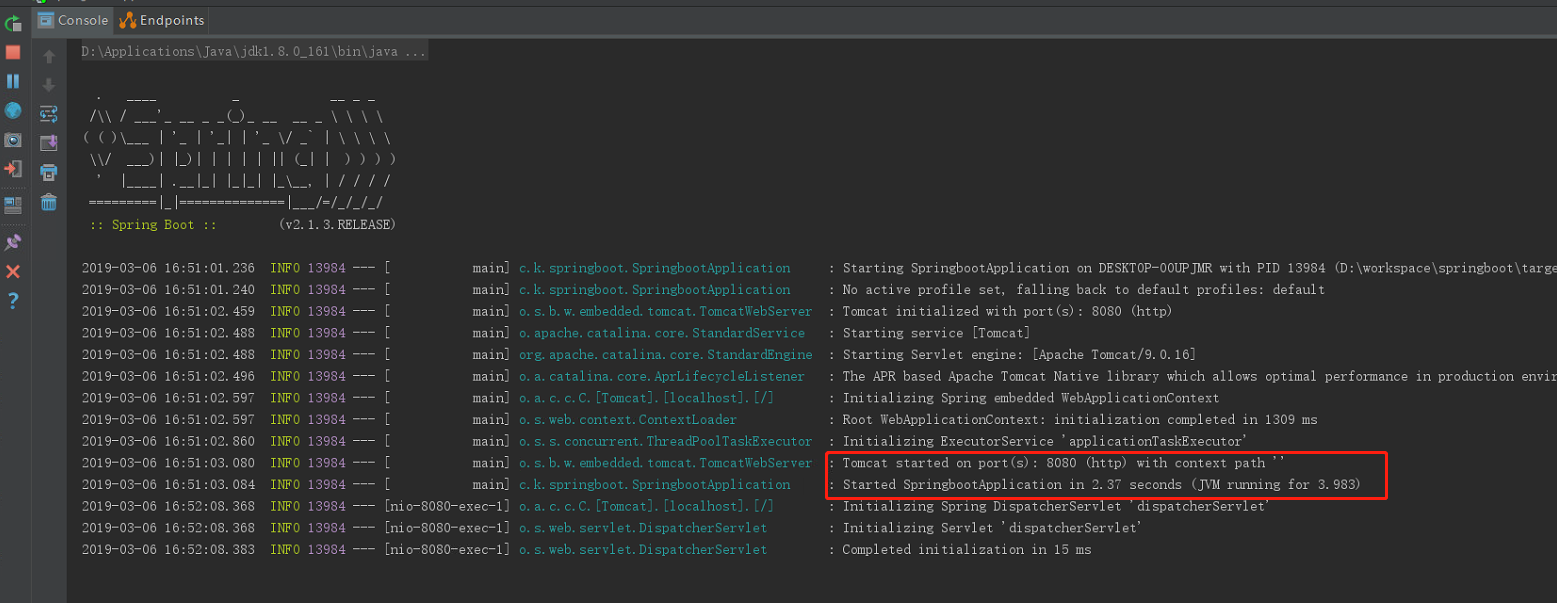
helloworld
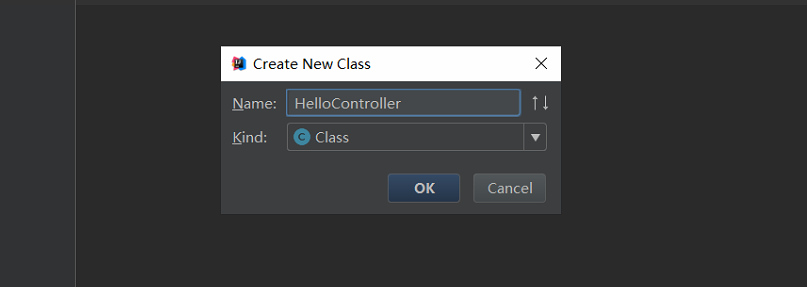
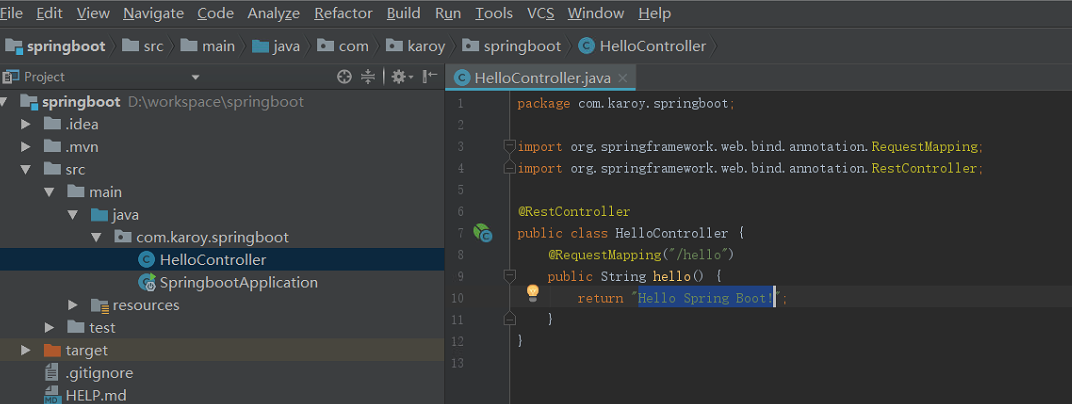
现在我们在com.karoy.springboot包目录下新建一个控制器HelloController: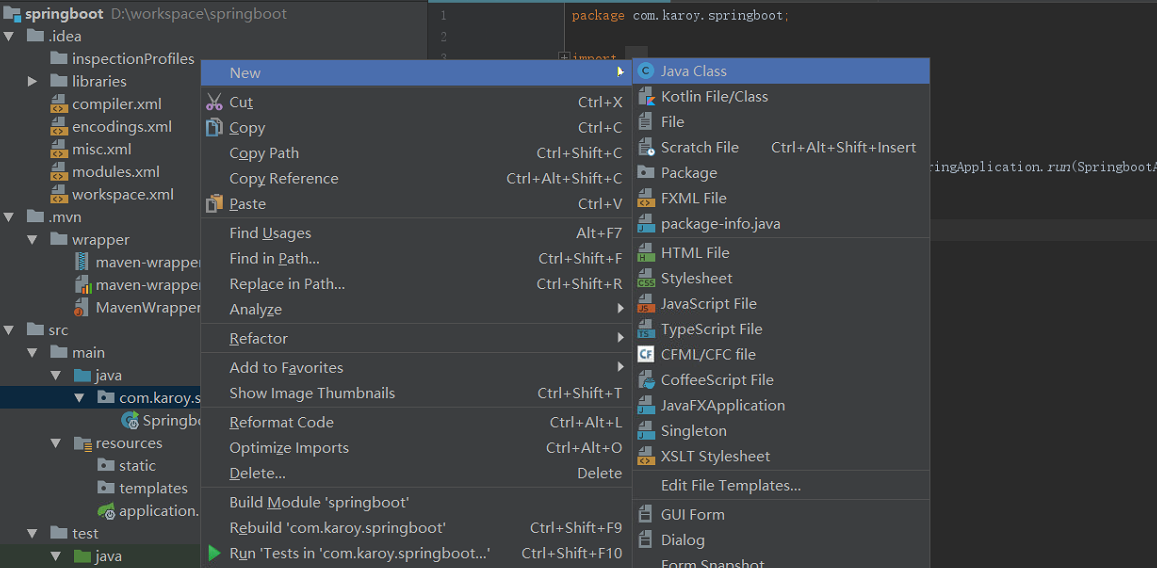
内容为:1
2
3
4
5
6
7
8
9
10
11
12package com.karoy.springboot;
import org.springframework.web.bind.annotation.RequestMapping;
import org.springframework.web.bind.annotation.RestController;
public class HelloController {
public String hello() {
return "Hello Spring Boot!";
}
}
现在我们保存后重新运行SpringbootApplication类,现在浏览器访问http://localhost:8080/hello来看下是什么结果: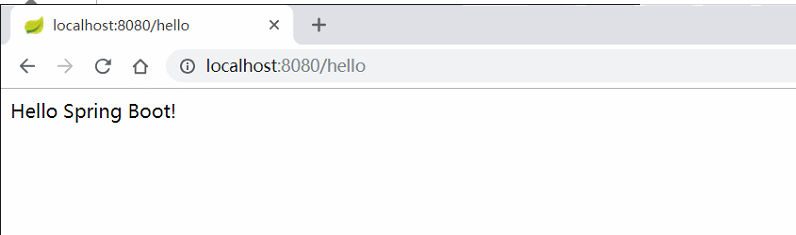
可以看到页面成功显示出我们在HelloController类中需要返回的信息Hello Spring Boot!。